


Content
- 1 What a Wheel Bearing Hub Assembly Unit Actually Replaces
- 2 Core Components Inside the Assembly
- 3 Recognizing the Warning Signs of a Failing Hub Assembly
- 4 Diagnosing a Suspected Hub Assembly Failure
- 5 Selecting the Right Replacement Unit
- 6 Installation Steps and Torque Requirements
- 7 Extending Service Life Through Proper Care
- 8 Making a Confident Replacement Decision
What a Wheel Bearing Hub Assembly Unit Actually Replaces
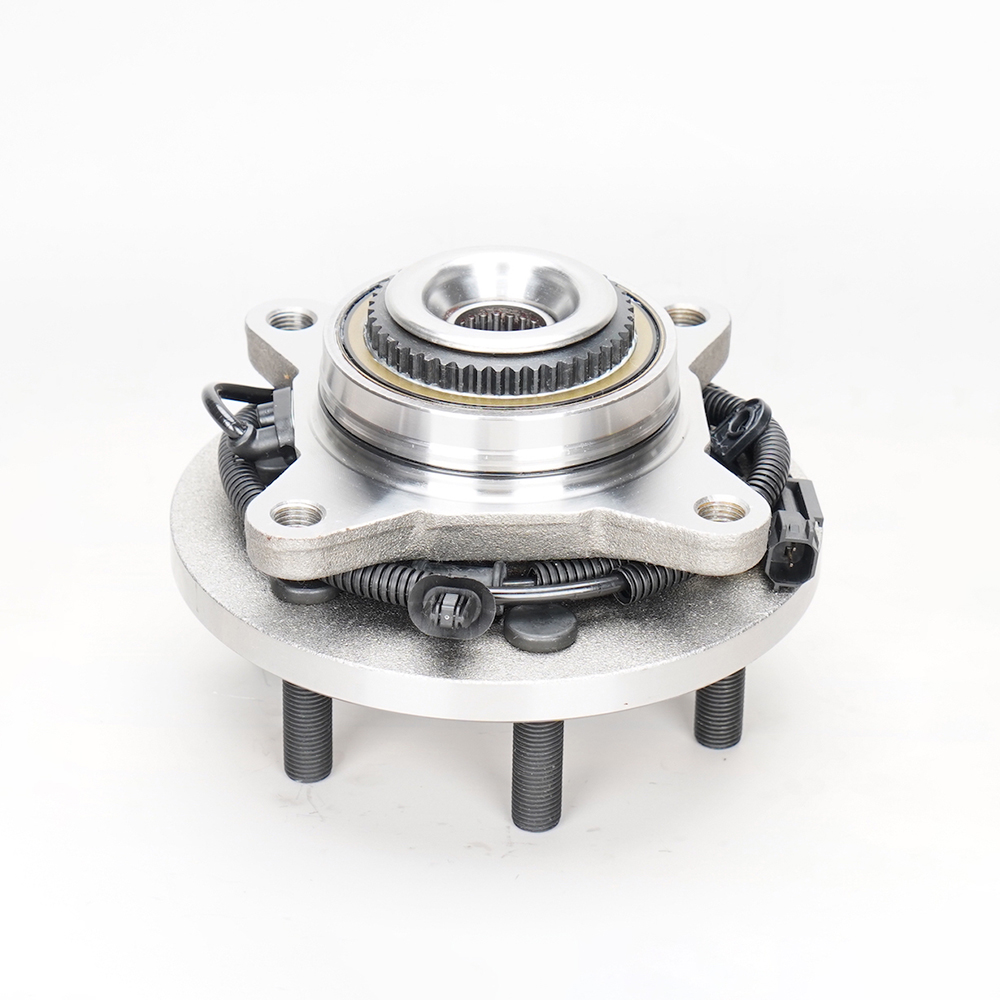
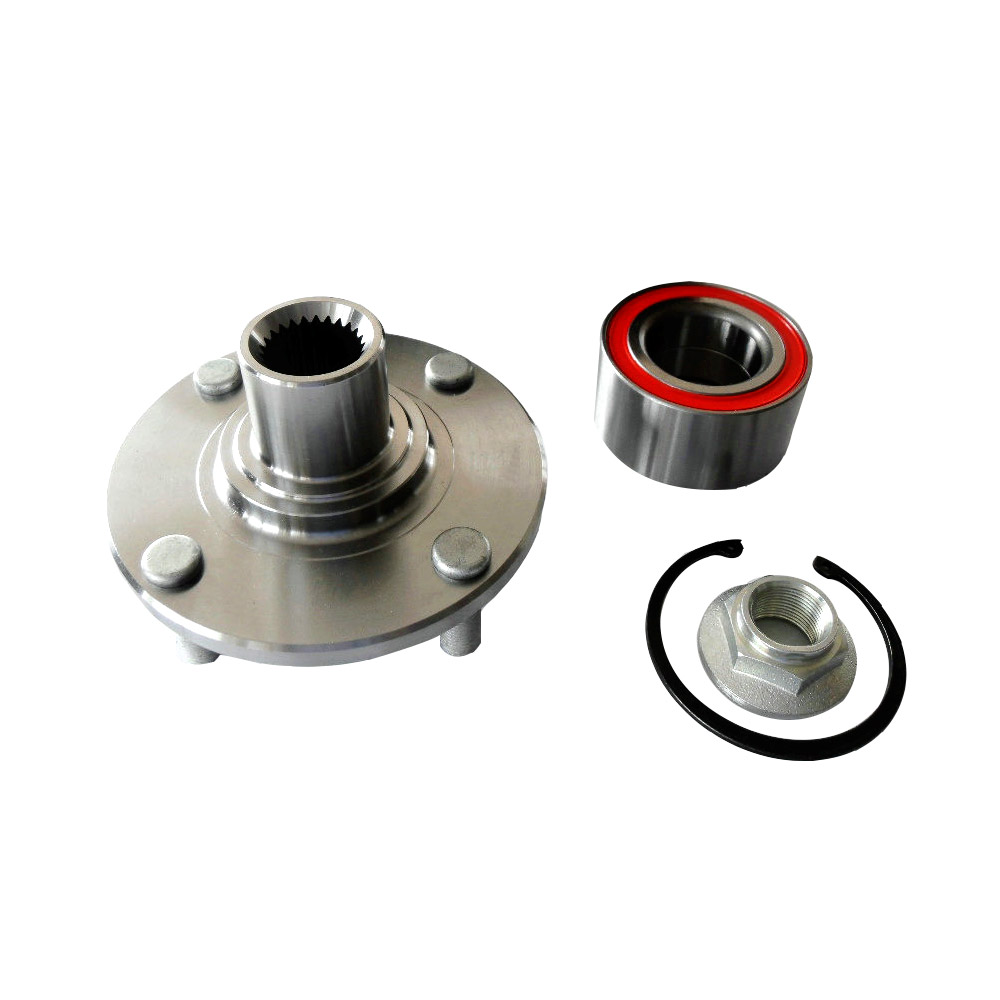
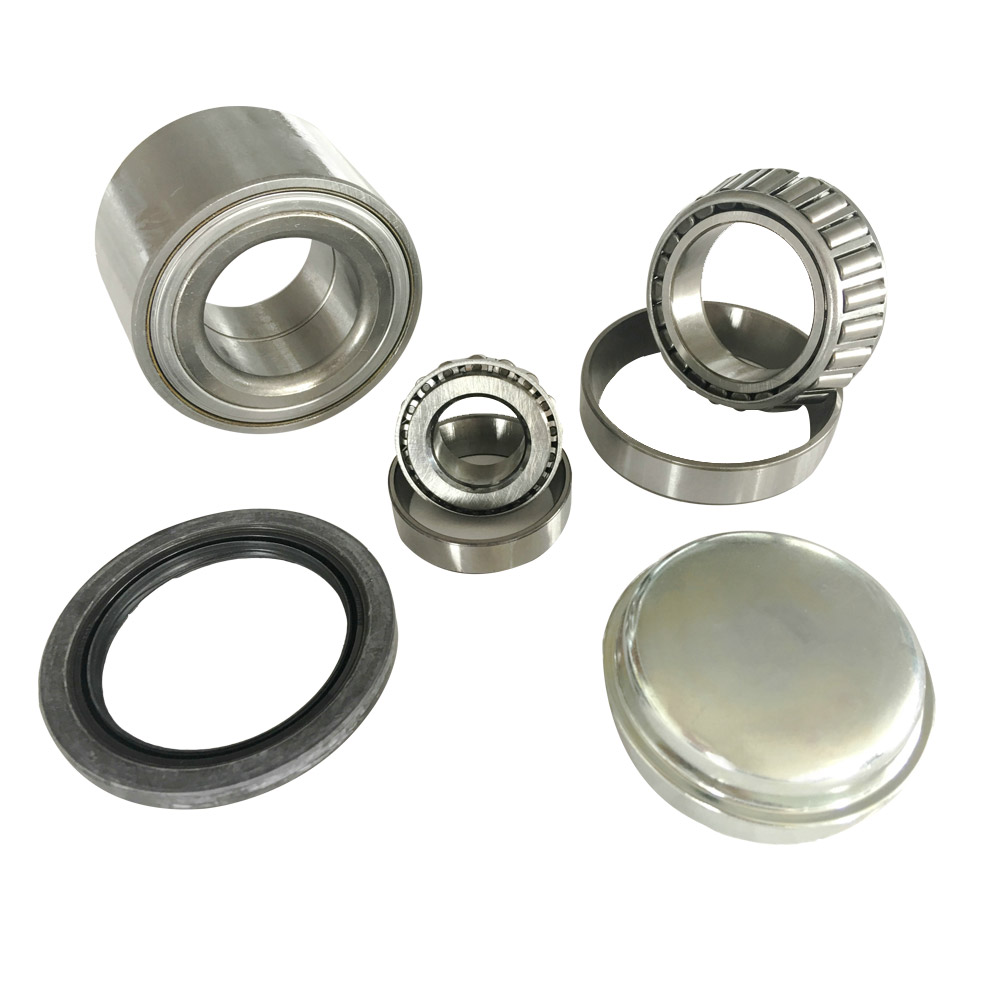
A wheel bearing hub assembly unit combines several components that older vehicle designs once sold and serviced separately: the wheel bearing itself, the hub that the wheel bolts onto, and in many modern designs, the ABS wheel speed sensor as well. Older vehicles typically used a loose bearing pressed into a separate hub, requiring a technician to pack the bearing with grease, adjust bearing preload manually, and install a separate seal to keep contaminants out. Modern hub assembly units arrive pre-greased, pre-sealed, and pre-set to the correct bearing preload from the factory, which removes a significant source of installation error that used to plague manual bearing service.
This consolidation reflects a broader shift in the automotive industry toward sealed, non-serviceable components that trade a higher unit replacement cost for dramatically reduced installation complexity and improved reliability. A properly installed hub assembly unit should not require any adjustment or maintenance during its service life, unlike older bearing designs that needed periodic repacking and preload checks as part of routine vehicle maintenance.
Core Components Inside the Assembly
A typical wheel bearing hub assembly unit contains a double-row ball or tapered roller bearing pressed permanently into a steel or aluminum hub flange, with integrated seals on both sides to keep grease in and contaminants like water, dirt, and brake dust out. The hub flange itself provides the mounting surface and wheel studs that the wheel and brake rotor attach to, and it is engineered to handle both the radial loads from vehicle weight and the axial loads generated during cornering.
On vehicles equipped with anti-lock braking systems, most modern hub assemblies include an integrated magnetic encoder ring and, in many designs, the wheel speed sensor itself built directly into the unit. This integration means that a failing wheel speed sensor often requires replacing the entire hub assembly rather than servicing the sensor independently, which is an important cost consideration buyers should understand before diagnosing an ABS fault code.

Typical Components in One Unit
- Sealed double-row ball or tapered roller bearing
- Steel or aluminum hub flange with integrated wheel studs
- Dual-lip seals protecting against contamination
- Integrated ABS magnetic encoder ring on most modern designs
- Mounting bolt pattern matched to the specific vehicle knuckle
Recognizing the Warning Signs of a Failing Hub Assembly
A failing wheel bearing hub assembly rarely fails without warning, and catching the early symptoms can prevent a minor repair from becoming a safety issue. The most common early sign is a rhythmic humming, growling, or grinding noise that changes pitch with vehicle speed and often becomes more noticeable during turns, since cornering shifts load onto the bearing in a way that amplifies internal wear noise.
Vibration felt through the steering wheel or floorboard, particularly one that intensifies with speed, often points to bearing wear that has progressed to the point of internal play or roller damage. Uneven tire wear on one side of the vehicle, unusual steering wheel behavior in one direction, or an ABS warning light triggered by a failing integrated speed sensor are additional signs worth investigating promptly, since continued driving on a badly worn hub assembly risks the bearing seizing or, in severe cases, the wheel separating from the vehicle entirely.
Common Symptoms and What They Suggest
| Symptom | Likely Meaning |
| Humming that grows louder with speed | Early to moderate bearing wear |
| Noise that shifts when turning | Load-side bearing wear confirmed |
| Steering wheel vibration at speed | Advanced wear or internal bearing play |
| ABS warning light | Failed integrated speed sensor or encoder ring damage |
| Grinding or clunking under load | Severe wear, needs immediate attention |
Diagnosing a Suspected Hub Assembly Failure
Before replacing a hub assembly, a proper diagnosis helps confirm the bearing is genuinely the source of the problem rather than a similar-sounding issue like worn CV joints, tire cupping, or a failing differential. A common diagnostic method involves raising the affected wheel off the ground and checking for play by grasping the tire at the top and bottom, then rocking it firmly in and out. Noticeable looseness here, distinct from normal suspension bushing give, points strongly toward bearing wear.
Spinning the wheel by hand while listening and feeling for roughness, grinding, or notchy resistance can also reveal bearing damage that might not yet be loud enough to hear during a road test. Technicians often use a mechanic's stethoscope placed against the steering knuckle during a road test with a helper driving, which helps isolate bearing noise from other drivetrain sounds that can otherwise be difficult to distinguish from the driver's seat.
Selecting the Right Replacement Unit
Choosing a correct replacement hub assembly starts with confirming the exact fitment for your vehicle's year, make, model, and trim level, since bolt patterns, bearing sizes, and ABS sensor configurations can vary even across different trims of the same model. Cross-referencing the original part number stamped on the failing unit, when legible, provides the most reliable way to confirm an exact match before ordering a replacement.
Buyers should also decide between OEM, OEM-equivalent, and aftermarket replacement units, since quality can vary significantly across price points in this category. OEM and OEM-equivalent units generally use bearing steel and seal materials matched closely to the original factory specification, while budget aftermarket units sometimes use lower-grade steel or simplified sealing designs that can reduce service life, particularly in vehicles that see heavy use or harsh climates with significant road salt or water exposure.
Questions to Confirm Before Purchasing
- Does the bolt pattern and stud count match your vehicle exactly?
- Is the ABS sensor integrated, and does the connector match your wiring harness?
- What warranty period does the manufacturer offer on the bearing?
- Is the unit rated for your vehicle's specific axle, front or rear?
- Does the seller provide a torque specification sheet for installation?
Installation Steps and Torque Requirements
Replacing a wheel bearing hub assembly generally begins with safely raising and supporting the vehicle, removing the wheel, and disconnecting the ABS sensor wiring harness where applicable before removing the brake caliper and rotor to access the hub mounting bolts. Most hub assemblies bolt directly to the steering knuckle from behind, using either three or four bolts depending on vehicle design, and these bolts should always be replaced with new ones if the manufacturer specifies single-use fasteners, since reused bolts can lose proper clamping force over repeated installations.
Torque specifications matter enormously here, since both under-tightening and over-tightening can cause premature failure. Under-tightened mounting bolts can allow the hub to work loose under driving loads, while over-tightening beyond specification can distort the hub flange or damage the bearing's internal preload setting, effectively shortening its service life before the vehicle even leaves the shop. Always torque hub mounting bolts and the axle nut, where applicable, to the exact specification listed in the vehicle's service manual, using a calibrated torque wrench rather than estimating by feel.
General Installation Sequence
- Raise and support the vehicle, then remove the wheel
- Disconnect the ABS sensor harness and remove the brake caliper and rotor
- Remove mounting bolts and separate the old hub assembly from the knuckle
- Clean the knuckle mating surface before installing the new unit
- Torque all fasteners to exact manufacturer specification in the correct sequence
Extending Service Life Through Proper Care
Because modern hub assembly units are sealed and non-serviceable, extending their lifespan comes down almost entirely to preventing conditions that accelerate seal damage or overload the bearing rather than any direct maintenance. Avoiding repeated high-speed impacts with potholes or curbs helps prevent the sudden shock loads that can damage bearing races even when the unit shows no immediate symptoms afterward.
Regular visual inspection during routine tire rotations, checking for grease leakage around the seals or any visible damage to the ABS encoder ring, can catch a developing problem before it produces noticeable noise or vibration. Vehicles regularly driven through deep water, heavy road salt, or off-road conditions face elevated risk of seal damage and should have their hub assemblies inspected more frequently than the standard service interval suggests for typical on-road use.
Making a Confident Replacement Decision
Replacing a wheel bearing hub assembly unit is one of the more safety-critical repairs a vehicle owner will encounter, since a failed bearing can ultimately compromise wheel attachment if ignored long enough. Confirming an accurate diagnosis, sourcing a properly fitted replacement from a reputable manufacturer, and following exact torque specifications during installation together ensure the repair restores full reliability rather than introducing a new source of premature failure.
Owners uncertain about performing this repair themselves should have a qualified technician confirm the diagnosis and complete the installation, particularly given the safety implications of an improperly torqued or incorrectly fitted hub assembly. The relatively modest cost of professional installation is a reasonable tradeoff against the risk of a mistake in a component directly responsible for keeping the wheel attached to the vehicle.
